
OCEANMAIL / RESELLER GUIDE
Mailboxes and webmail
Create mailboxes, sign in and connect a mail application.
Manage mailboxes
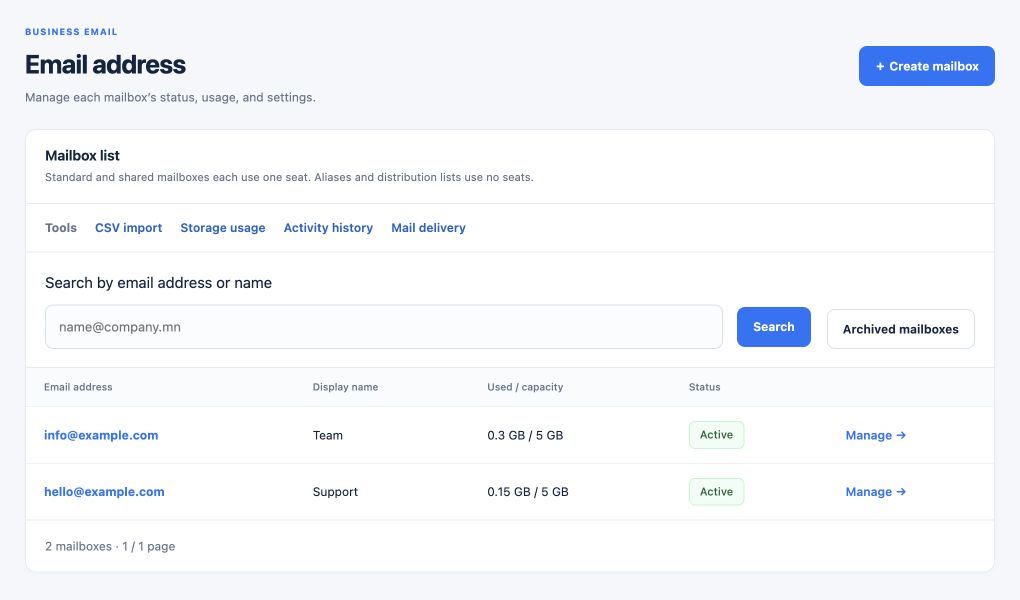
Create and manage mailboxes through the WHMCS service or an authorized tenant portal account, within the product’s seat and storage limits. Domain ownership and an active service are required.
- Select an active service and verified domain, and check the remaining capacity.
- In the WHMCS service or an authorized tenant portal account, enter the new mailbox name, password and required fields.
- Submit the request and check processing finishes and the mailbox is active.
- Before editing, suspending, archiving or restoring, verify the selected mailbox.
Sign in to webmail
At webmail.mail-ocean.com, use the full email address and that mailbox’s password. The customer portal and webmail have separate sign-ins.
- Open webmail.mail-ocean.com.
- Sign in using the full email address and that mailbox’s password.
- If a different mailbox opens, check the existing browser webmail session and sign out or use a separate browser profile.
If another mailbox is already signed in on the browser, that session may open. Check the address, sign out, or use a separate browser profile.
Mail application settings
Server: mail.mail-ocean.com. Incoming IMAP: 993, SSL/TLS. Outgoing SMTP: 465, SSL/TLS with SMTP authentication enabled. Use the full email address and mailbox password.
- In your mail app, set IMAP server mail.mail-ocean.com, port 993 and SSL/TLS.
- Set SMTP server mail.mail-ocean.com, port 465, SSL/TLS and SMTP authentication; alternatively use port 587 with STARTTLS.
- Use the full mailbox address and password, then send and receive a test message.