
OCEANMAIL / HELP CENTER
Get started with OceanMail
From choosing a plan to using your first mailbox.
Register and pay
Choose a plan for your organization, register, verify your registration email and pay the invoice.
- In Plans and pricing, choose the product, term and number of mailboxes you need.
- Register with an email address you can access. Open the verification link you receive, then choose the account type, enter your name and create a sign-in password.
- Open the invoice in the customer portal, pay using an available method and check its status.
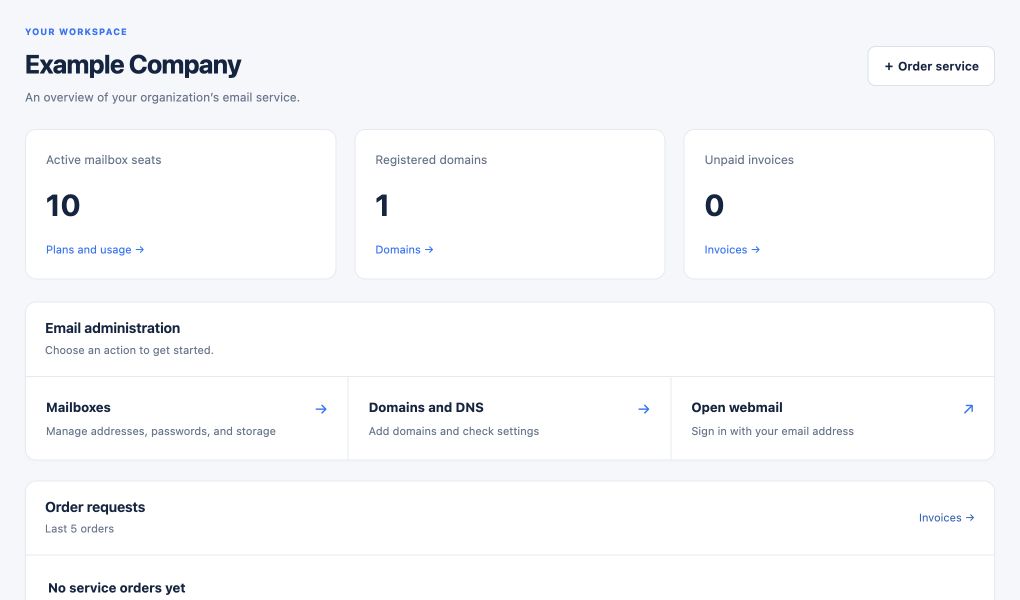
Set up your domain
Add your domain in the customer portal and publish the ownership record shown there at your DNS provider. Once verified, configure the displayed email DNS records.
- In the customer portal, open Domains → Add domain and enter your domain.
- At your DNS provider, add the ownership TXT record shown in that domain’s details.
- Allow DNS to propagate and select Check DNS. Once ownership is verified, add the shown MX, SPF and DKIM records and check again.
Create a mailbox
Create a mailbox on your verified domain with an active service. Sign in to webmail using that mailbox’s password. The customer portal and mailbox use separate credentials.
- Open Email address → Create email address and select the product and domain.
- Enter the local part, display name and a mailbox password, then submit the request.
- Check the request status in the list. Once ready, sign in to webmail with the full address and mailbox password.